
I've pledged to go plastic free on bread & crackers this July! We eat bread daily in our household so this means we need to go home-made.
This home-made sourdough bread recipe is a winner! It's so easy, you can make it while you're preparing dinner.
Last year in July I shared my experiences of starting to make sourdough bread! I had come across a wet-mix recipe which revolutionised things for me, as I'd been mucking around with various experimental loaves for months, and while I enjoyed the process of kneading and rising, it was messy and VERY time consuming! I thought about investing in a new, fancy bread-maker, but was reluctant to spend on another appliance for the house (and we are short on space.) When I started using this wet-mix recipe, I realised this is similar to what my grandmother used! No mucking around kneading and flouring the bench, once you have your starter, this bread can literally be made in 15 minutes or less.
This recipe is adapted from one originally given by Penny Prashanti Lovegrove.
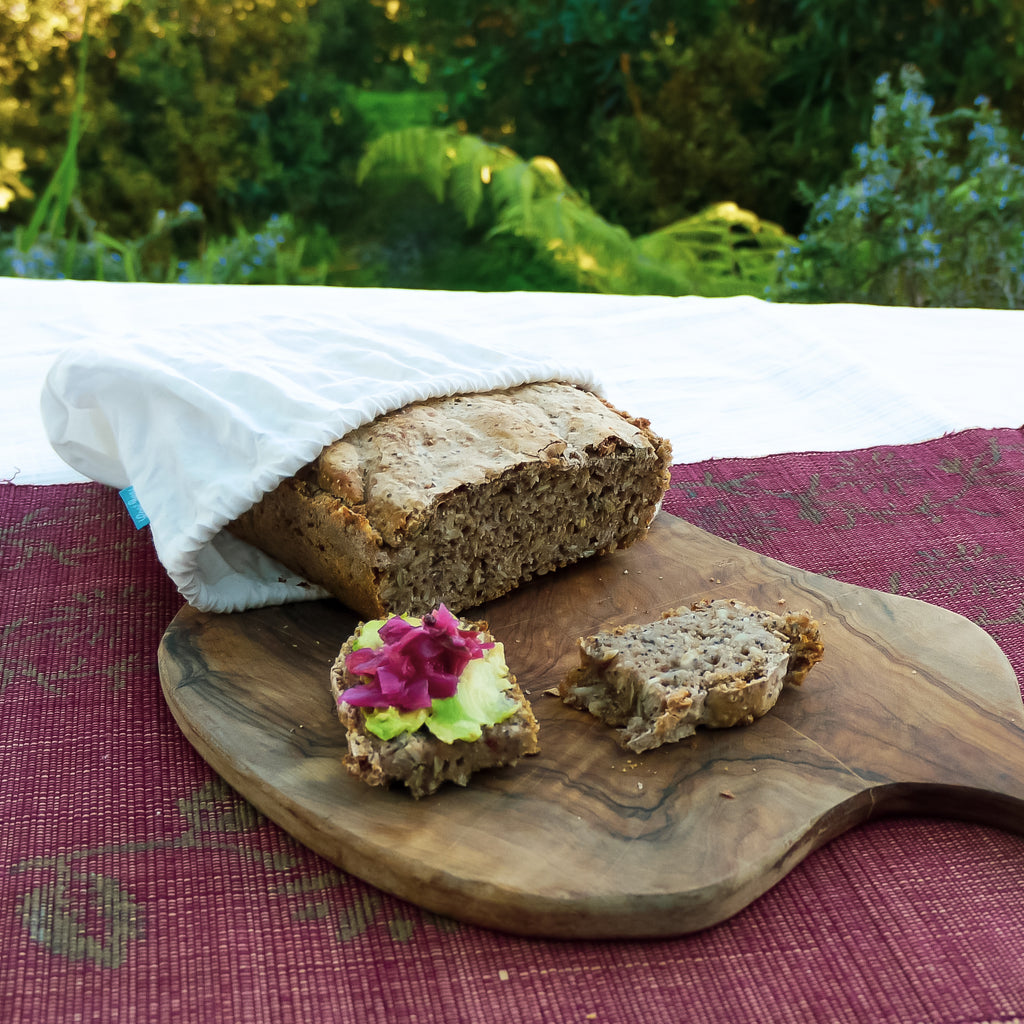
I just go a bit gooey at the thought of freshly baked sourdough & butter. This loaf is incredibly easy to make and will stay fresh for days (try storing it in an organic cotton produce bag like a loot bag, or else in the loaf tin you bake in, covered by a tea towel.)
Have you tried making bread and found it messy & time-consuming? (Unless of course you've invested in a bread-maker!) This sourdough recipe is a NO-KNEAD recipe. It's made just like a cake, and you don't even need to fuss over quantities or worry about using a sieve or mixer!
Making Your Starter
If you have a friend with an active starter, they'll usually happily donate you some! Otherwise you can learn how to create one from scratch here - it takes a few days. I've experimented a little with gluten-free starters & breads, but ended up going back to a gluten-fed starter. I always feed mine organic flours - I found it seemed to become unhealthy when fed other, conventionally processed flours. I feed mine a combination of organic rye and organic white wheat or spelt flour, with an equal amount of water.
Although I largely avoid gluten, I do find I can tolerate a certain amount, and sourdough helps pre-digest the proteins contained in gluten flours. This means that even some gluten-sensitive people can tolerate a bit of sourdough bread, and using organic flours (including spelt instead of wheat) may help too! Listen to your own body on this.
Equipment:
All you need is a small wooden spoon for using with your starter (avoid metals), non-metal mixing bowl and a loaf tin. I switched to using silicone bakeware and find it amazing!
Ingredients:
- A little oil (I use coconut) to grease your loaf tin
- 300g flour - I use mainly organic white wheat or spelt flour, and you can add some wholemeal flour such as stoneground, whole organic rye
- 1 teaspoon finely ground salt (I use himalayan or pure sea salt)
- 1/2 cup rolled oats or other wholegrains e.g. rye flakes and/ or non water-absorbing seeds such as sunflower, sesame, pumpkin
- (Optional) 3 Tablespoons (max) water-absorbing seeds such as chia or basil
- A few handfuls of fresh, finely chopped herbs - rosemary is amazing!
- 1 cup filtered/ non-chlorinated water - a little more if needed
- 1/2 cup sourdough starter
Remember while you have all your ingredients out, it's a good time to feed your starter too!
Once you get comfortable making this bread, you can try mixing up the ingredients! I've made wonderful loaves by adding some chopped banana and spice (remove the herbs) and even with stout (instead of some water) and ground ginger!
Method:
The mixture is so simple: you just mix everything together in a non-metal bowl! One trick I use with the herbs is to combine with water in my blender to save chopping. Ensure once the mixture feels like the consistency of a cake batter - not too wet or dry. Sometimes I've found certain flours absorb more water so I need to add a little more, but ensure the mixture is well-combined before you judge this and only add a small amount of extra water at a time. (Seeds can dry the mixture too.)
Pour the mixture into your loaf tin, using a spatula to get the last of it, and cover with a dampened cloth (try to avoid the cloth coming into contact with the rising dough, but if this happens, you can use a bread knife to 'cut' the dough off the cloth before baking.)
Place the rising loaf into a nice warm spot (away from too much direct sunlight in summer.) I often use my oven for this step if it's not a warm time of year - I put the oven on approx 30 degrees C. Ensure the surface it's sitting on is also warm (such as placing onto a wooden board near the fireplace.)
I used to make the loaf at night and leave to rise for 10-12 hours before baking but I actually found this to be too long - the mixture will start to sink again if left beyond the optimal rising time. I now leave the loaf to rise for approx 3-6 hours only, which is usually sufficient as long as it's in a good warm spot. Your loaf should ideally rise about 30% before baking.
Bake at 175 Degrees C for approx 45 - 50 minutes on fan bake. This will vary by oven and you can cook it to your taste - if you prefer it a little gooey (perfect for toasting or re-heating!) then you can take it out on the shorter cooking time. Use a bread knife or similar to stab the loaf and see if it's still sticky inside. I also use my knuckles to knock on the top of the loaf - if it sounds fairly solid like a door, it's cooked.
Store in your loaf tin covered by a cotton cloth or inside a cotton produce bag. Great for the freezer too! Cut into hearty chunky slices and when you're ready to eat, re-bake in the oven from frozen to have it as delicious crusty bread with soup or casserole.

Sorry but sourdough is not made for playing around with herbs and strange methods. Its a true bread made simply. The use of different flours mixed with bread flour is great and tasty, but the method should be the true and traditional way.